


Brown….yep, brown. The majority of RV’s on the market are brown. Old and new – brown. The color of a turd.
Yes, it does cover any dirt and grime you get from camping pretty well, but do you really just want to hide that dirt and grime? I’m not so sure I do. I mean, yeah, it would be great to not see it, but that doesn’t mean that it’s not there. I’d rather just be forced to clean it up because I can see it.
If that’s not you – well, maybe brown is your thing, so this isn’t for you. If brown isn’t your thing, keep on reading.

We purchased a new to us 2018 DRV JX450, and while it was pretty nice out of the box, we knew that we were gonna repaint the main area’s cabinets – and maybe all of the rooms. The living area was gonna be changed for sure.
Having done some remodeling in our former trailer, we knew what a difference it could make.
If you’ve been in a brown RV, you’ll remember that they are pretty dark.
Even with all the windows open on a sunny day and all the lights on, they seem to absorb all of the light. We live in our RV, and we wanted light and airy…not dark. The other thing to consider: lighter and brighter spaces look bigger. There’s nothing wrong with 400 square feet and all, but man…any little thing that helps it feel bigger is a win.
Here are some before pictures. As I said, it was a pretty nice rig, to begin with, other than the honey oak cabinets and trim. The walls are a light grey, the floors are a mottled gray faux stone tile, and the counters are white and black quartz with barely noticeable gold flecks in them. Not a bad starting point, but not great.


There are a lot of Instagram and Facebook pages dedicated to remodeling your RV.
Some remodels are done with décor, others with paint. While others are “rip it all out and start with a shell” remodels, running the full gamut. Before starting a remodel, I highly recommend looking at these groups and absorbing as much info as possible, then, ask questions. Plan it out, ask more questions, and re-work the plan.
Then….get ready for a lot of work. Don’t go into it thinking that just because it’s under 400 square feet, it’ll be easy! It’s small, cramped, and has a lot of intricate spaces, nooks, and crannies that will make you want to scream. Here are some sites to check out for inspiration and ideas:
https://rvinspiration.com/category/renovated-rvs/
https://mountainmodernlife.com/rv-renovation-inspiration/
https://www.facebook.com/groups/383951958433603
We started with lofty goals – we had some money saved up for it, were busy, and wanted to have a professional do the job for us.
We had researched someone who had reasonable prices and decent references, as well as a nice portfolio of work. His previous estimate on our last trailer, which we ended up not painting the cabinets in, was about $1500, and the number of cabinets was close.
So, we reached out to him, only to never hear back – guess he went out of business. So, off to plan B. We found another re-finishing company, reached out, described the project, and got an appointment for an estimate. They seemed like they wanted to broaden their horizons and use us as a test platform for something other than traditional home cabinets.
At our first estimate appointment, the guy took measurements, counted the doors/drawers, and took a bunch of photos, and said he’d let us know in a couple of days.
We also discussed dropping the trailer off at their location to reduce travel time and allow them to work on it during downtime, as we had not moved into it yet.
We knew from previous experience that this project would be much easier to do before we were in it. Have you lived thru a remodel? Talk about fun!
A few days later, we got a call, and they wanted to send the foreman over to look. Same procedure. Ok, we’ll have our estimate in a couple of days. Nope, the foreman had to visit again…then the owner – twice.
Now we’re a couple of weeks into getting an estimate, several appointments and hours of time, and are getting frustrated.
This was delaying our move into our new home. The whole time this was going on, everyone was telling us how great a deal they were gonna give us, as they wanted the unique job, and it was going to be at their shop. Great – that’s why we kept on waiting.
Then the estimate came. Umm, where was that great deal?
$6650! That was with a $500 discount. I don’t know about you, but that’s not a great deal! I was willing to pay a few thousand, and in hindsight, maybe up to $5k for the whole trailer, as it was a lot of work. We were not prepared to pay $6650…You’ve got to be kidding me! If that’s a great deal, I’d hate to see the normal prices!
On to plan C: do it ourselves (DIY RV Cabinet Remodel)
As luck would have it, we were able to get a campground spot right next to our current trailer. Did I mention we did this all while we’re full-time? Yeah, that was fun. If you have a garage or shop to work in, I envy you!
Soon, we moved the trailer in and got to work. We (and by we, I mean Jeff) removed all the cabinet doors, hardware, and hinges and started prepping for paint. There were 36 doors and 15 drawers to remove. Doesn’t sound like to much, until you’re on the 60th hinge, fumbling with the tiny screws and trying not to drop the door! Fortunately, we had the garage of the toy hauler to put them in while we were prepping.
Now, this is where most normal people will break out the roller and brush and get started on the painting. Not so much.
We wanted to spray the paint, as there were a lot of intricate places, and we wanted a smooth, consistent finish, which is hard to get with a roller and brush. Yes, it can be done, but it takes some time, patience, and skill. If you’ve ever sprayed paint, you may have noticed that there tends to be a lot of overspray – and it makes a mess.
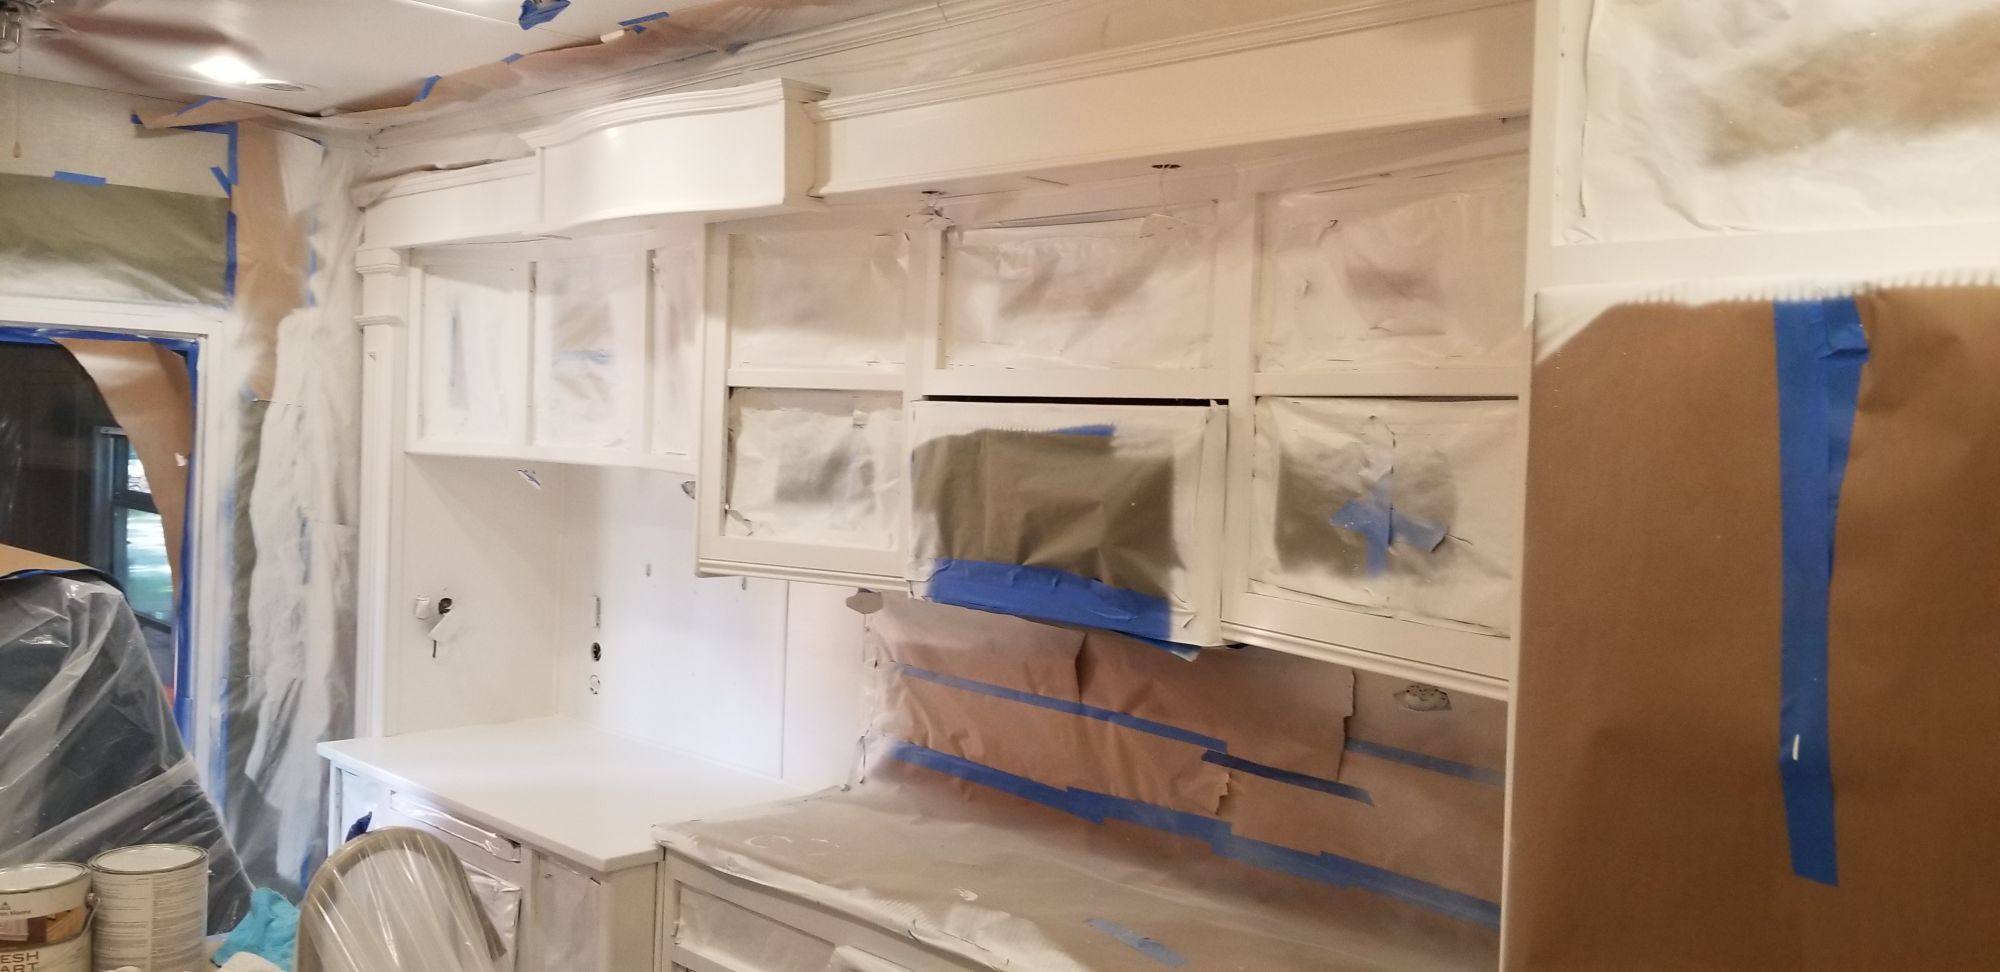
Combine overspray with a tight space, and you’ve got a recipe for disaster. To combat that, you have to be really diligent about masking anything you don’t want to get paint on. Many hours of masking later, this is what it looked like:


Somewhere along the way, we visited our local Benjamin Moore store for paint and supplies. Benjamin Moore has an acrylic cabinet paint that is high-end and is supposed to work miracles. They recommended an oil primer as a base and told us that it didn’t really require pre-sanding. Just make sure the surface is clean with something like TSP, which we did.
If you don’t clean the surface well, the paint won’t stick and it will leave a mess that resembles water and oil smeared together. We experienced that on our last paint job in a few places, and it really ruins your day. We ended up going with a color called alabaster – one of the many shades of white.
While shopping for the paint sprayer, we initially decided to try a small Graco handheld sprayer.

(Graco Handheld – First Attempt)
With the small area, we didn’t want to go all out and get a big airless sprayer with the long hose. This was mistake number one. The handheld sprayer didn’t have a full line of spray nozzle sizes so it wasn’t as easy to tune.
Our second mistake was running out of the Benjamin Moore primer on the weekend when they were closed, and deciding Killz was a viable option. The Killz did not spray smoothly, and to this day, we can see the zebra-stripe patterns it left where it was used.
After priming the interior and dealing with the issues brought about by our learning process, we returned the handheld Graco and swapped it for this one and an extra tip for finish work:
 Graco Project Painter – Second Attempt
After buying more primer and allowing it to set and cured for a day or two, it was time to paint the topcoat. This actually went pretty smoothly, with the exception of burning thru more paint than expected.
If you’re trying to keep the paint budget down, you probably don’t want to spray – there’s a lot of waste.
Another thing to consider when choosing spray vs manual – the paint sheen will be slightly different. We’ve noticed this when touching up our paint. The color is the same, but the sheen seems to be about one grade different – for example, when sprayed, it looks like eggshell, and when brushed or rolled, it looks like satin, verging on semi-gloss. Not a big difference, but noticeable to the discerning eye.
Anyway, the interior finish coat was sprayed with a different tip and went pretty smoothly. The only real issue we encountered here is with the prep work. Some of the masking started to come loose and some overspray ended up on the walls. That overspray is still there, as we didn’t clean it immediately.
If this happens to you, clean up while it’s still wet. If you wait till it dries, odds are very high that whatever you use to clean up will also damage the underlying wall finish.

We plan on covering this up with some beadboard at some point, but it’s not a priority, so it hasn’t happened yet.
Here is what the project looked like at this point:


On to the doors!
We initially planned on painting them in the 10×10 garage, but reality stepped on that dream. The space was just too small to efficiently do the job. As full-timers, we don’t have a garage or shop space to work in.
So, plan B for the doors was to rent a storage unit, except most storage units don’t come with electric or water, so we’d have to use a generator for the sprayer, and cleanup would be difficult.
Off to plan C again – We rented a 26 foot U-Haul truck for a couple of days and parked it next to the trailer.
The space was just big enough for it.
The UHaul truck was prepped like a Dexter kill room: plastic and paper on the floor and plastic taped up on the walls to about 6 feet high. We didn’t bother with the ceiling, as it was unlikely to get any paint on it.
We moved all the doors to the truck, and initially stacked them on the wall. That was ok, but not ideal. We ended up creating a drying rack in the front of the truck, made out of 1×2’s stacked on the side rails of the box. This was much better than the initial pass that just had the doors leaned against the wall. There was a tendency to bump them when they were still wet.
This whole system evolved as the job progressed: A primer pass on each side of the door, followed by multiple finishes passes on each side. We set up a “paint station” in one portion of the truck, painted the door on one side, then moved the door to the drying rack, – rinse and repeat!
If you have the time, I’d rent the truck for a week and allow 24 hours between coats to ensure they cure. We did not do this, and as a result, we ended up with some cosmetic blemishes from the soft paint.
Today’s modern paints require a long time to cure! In fact, in a perfect world, I’d like to let this all cure for 5-7 days before re-assembly, then another couple weeks before actual use. If you have the time, it will result in hard-cured paint that doesn’t mark.


While the doors were curing, we stripped all the masking out of the trailer and started cleaning up.
All our shortcuts and failing at masking resulted in more clean-up! So, take your time on masking, and if in doubt, add more paper and tape, it will pay off in the long run. It was at this point that we really started to see a difference in appearance. Up to the clean-up, the whole effect was kinda underwhelming – yeah, it was white, but it was a huge mess! Once cleaned, we fell in love with the look.
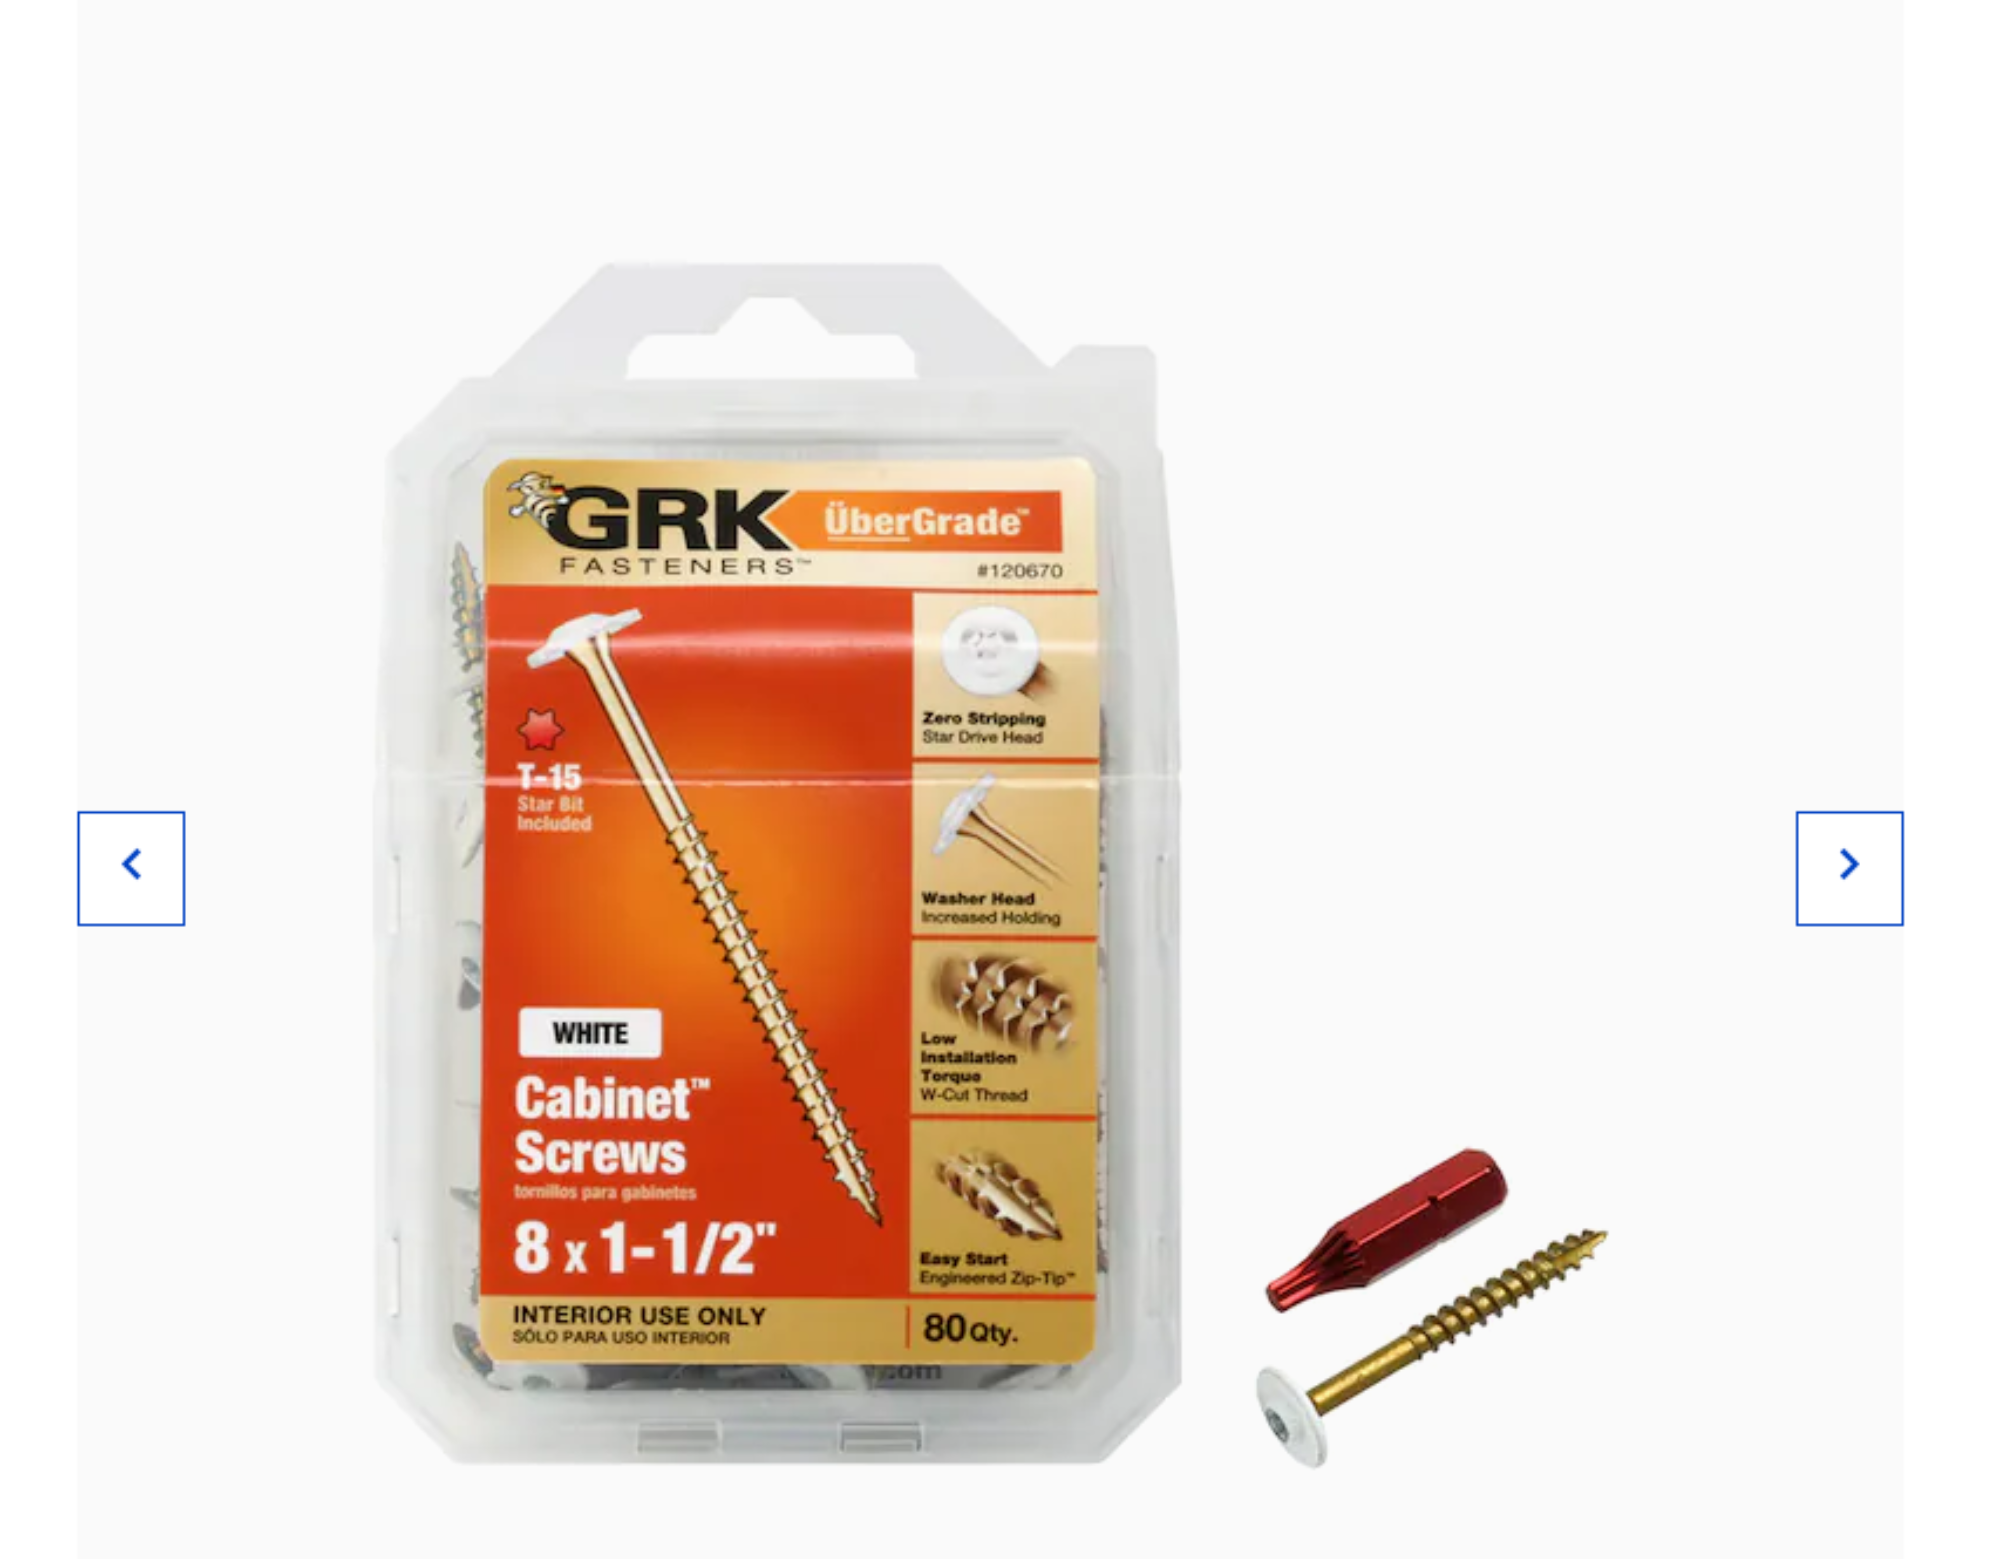 The doors dried to the touch, and we started re-assembling the trailer. This was work! So many hinges, latches, and doors! Each one had to be re-installed and adjusted to close correctly and squarely. It seemed like about half, or more, of the screws that hold the doors to the cabinet bases stripped out as they are pretty short and kinda insufficient for the door weight, so we replaced a lot of screws. I’d recommend that you plan on it, and have a box (or two) of these on hand:
Once the cabinet doors were out of the Uhaul, we stripped it down and sent it home – super easy clean-up!
One side note – the campground was really busy during this time frame, and we had a lot of onlookers – you should allocate a few hours of time for answering questions! Or – you could just be unfriendly and scowl at them. Either way works, but if you’re going to do this in a campground, you’re gonna get a lot of attention. Think about all the onlookers you got when you started RV’ing and struggled to get into your site and setup!
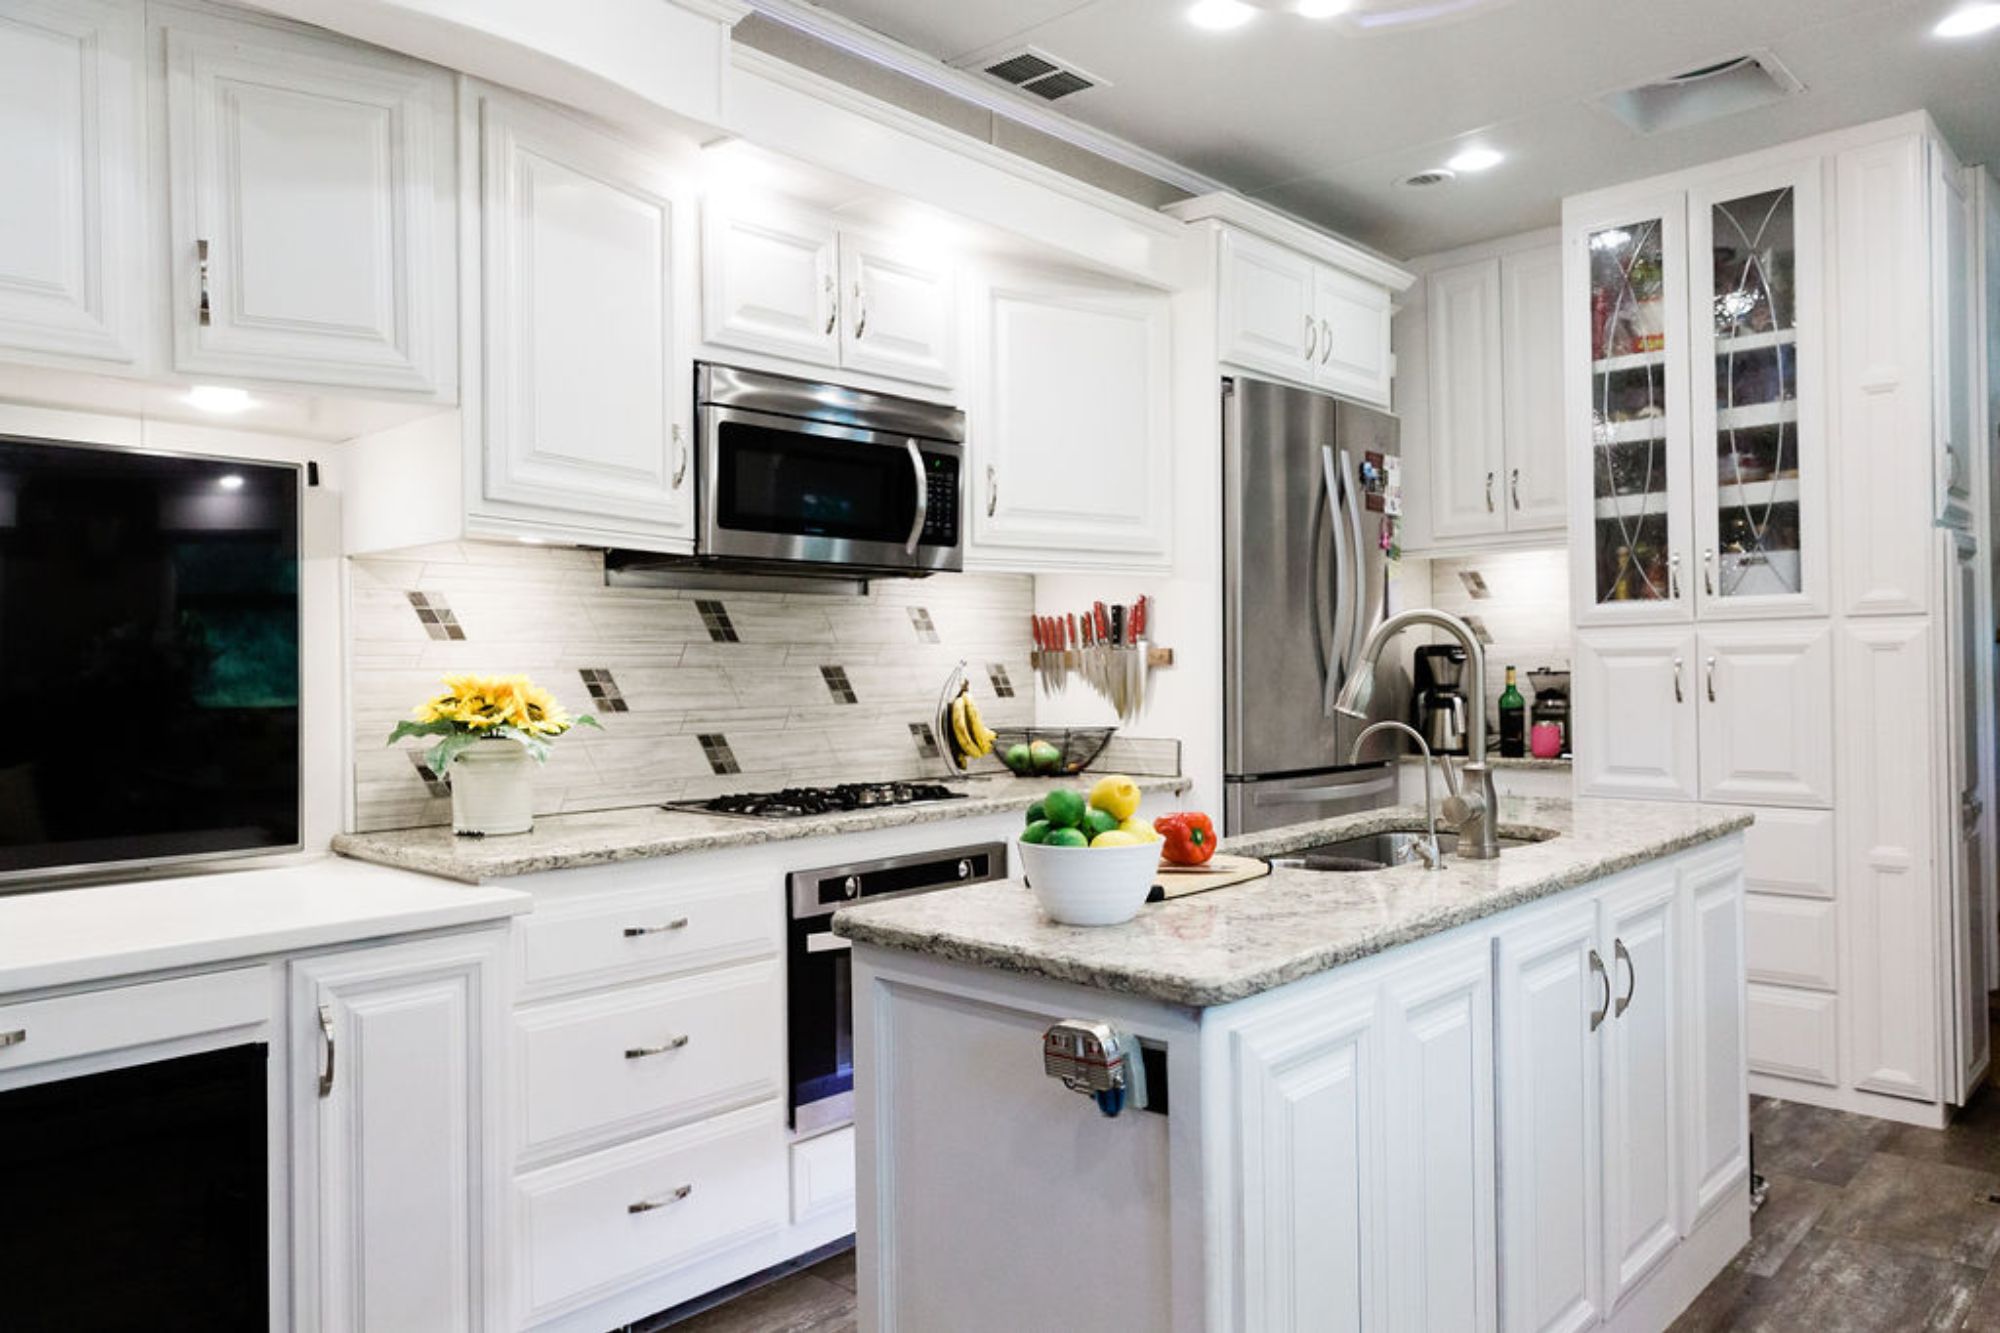
This is what the final outcome was:
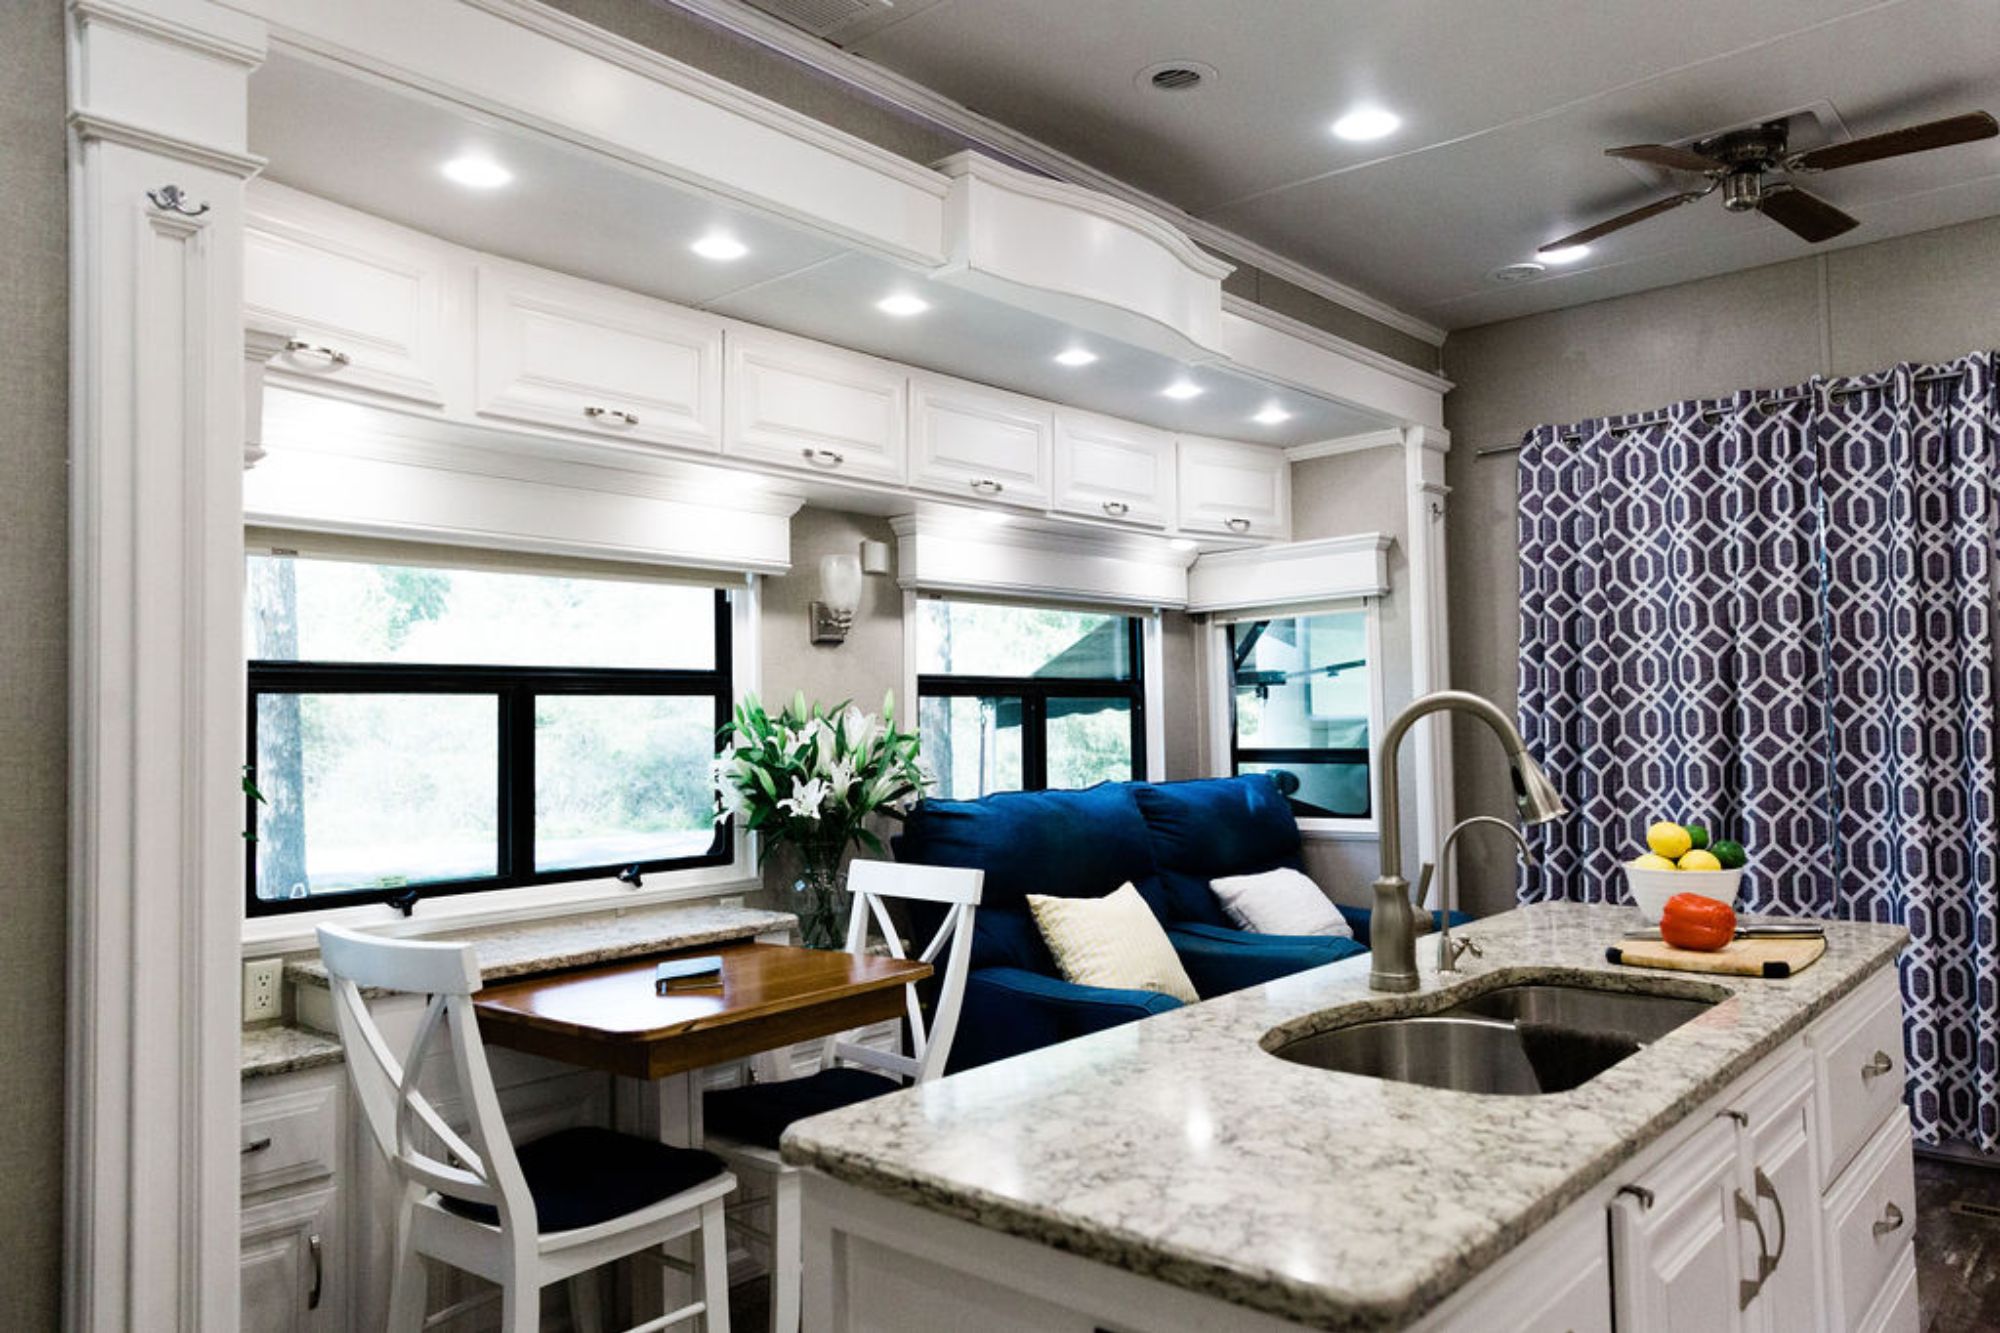


And yes, those blue chairs were replaced, but no good pics of the space with the new cream-colored leather La-Z-Boy loveseat.
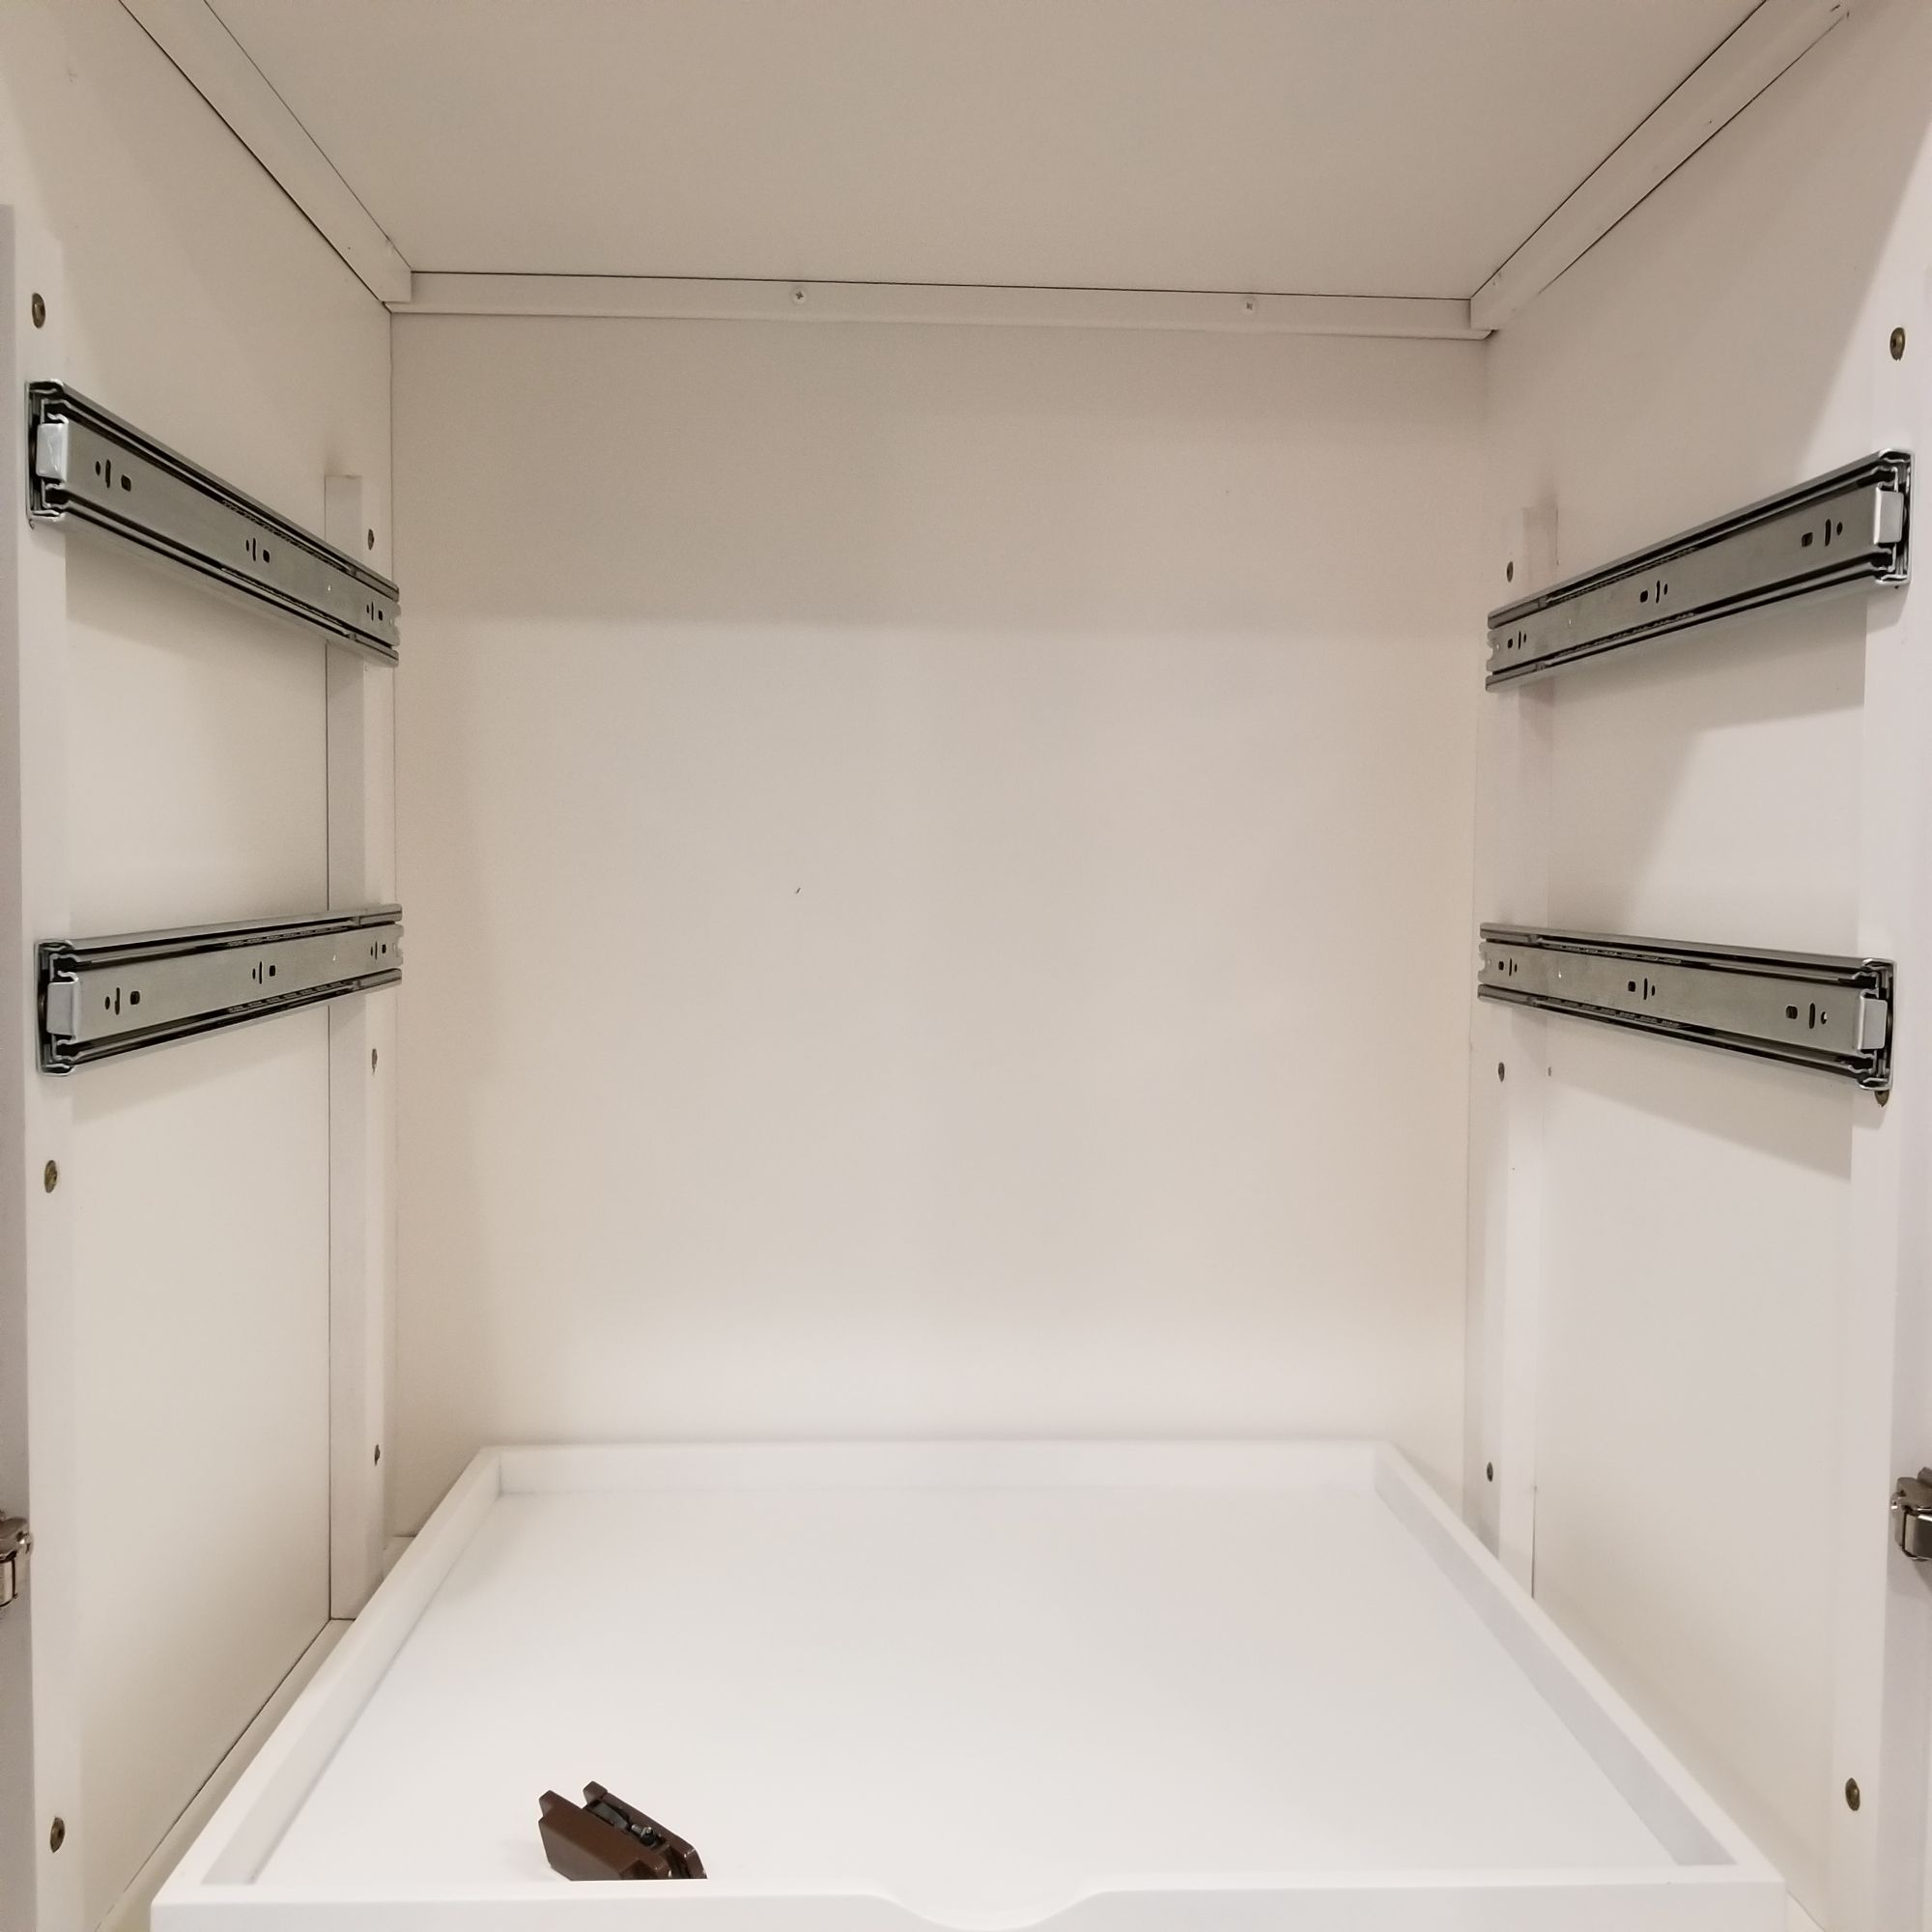
While we were at it, we decided to add some cabinet sliders and shelves to make better use of the space that we had. We built them out of plywood and drawer slides, and they have held up pretty well. Several of them were installed on a riser, to allow for storage underneath. We also added shelves to the laundry area for linens and bathroom stuff.


There are some rough areas that could use some fixing, and after 6 months, there are areas that could use some touch-up. All in all, we still love it, and would do it again. At some point, we’ll touch up the flaws, but hey – we live in here, and it works! If you’re considering doing some remodeling – go for it. It’s your house, and only you can decide if it’s worth it to you!
What changes have you made to your RV to make it “yours” or more livable?
Leave a comment with your tips, tricks, and any info you want to share.
Visit our social media pages for current, up to date content and more RV tips and tricks.
